Uneven concrete slabs around your home can be more than just an eyesore—they present tripping hazards, drainage issues, and can even affect your property value. At Pinnacle Concrete Solutions, we understand the frustration that comes with sunken or uneven concrete. This comprehensive guide will walk you through the concrete leveling process, whether you’re considering a DIY approach or looking for professional services of concrete leveling near me.
Understanding Concrete Leveling
Concrete leveling is a repair technique used to correct uneven concrete slabs by raising the sunken portions back to their original position. Rather than replacing the entire slab, which can be costly and time-consuming, leveling addresses the underlying issues while preserving the existing concrete.
All concrete leveling methods follow the same basic principles:
- Strategic holes are drilled through the affected concrete slab
- A leveling compound is pumped through these holes to fill voids beneath the slab
- The material lifts the concrete back to the desired position
- Drill holes are sealed to complete the repair
Different Methods of Concrete Leveling
Mudjacking (Slabjacking)
This traditional method uses a cement-based slurry (often called “mud”) that’s pumped beneath the concrete to raise it.
Polyurethane Foam Injection
A modern alternative that uses expanding polyurethane foam to lift concrete slabs. This method typically requires smaller drill holes and creates less mess.
Self-Leveling Overlays
For minor unevenness, a self-leveling compound can be poured over the existing concrete to create a smooth, level surface.
DIY Concrete Leveling: Step-by-Step Process
If you’re comfortable with home improvement projects and have the necessary tools, here’s how to level a concrete slab yourself:
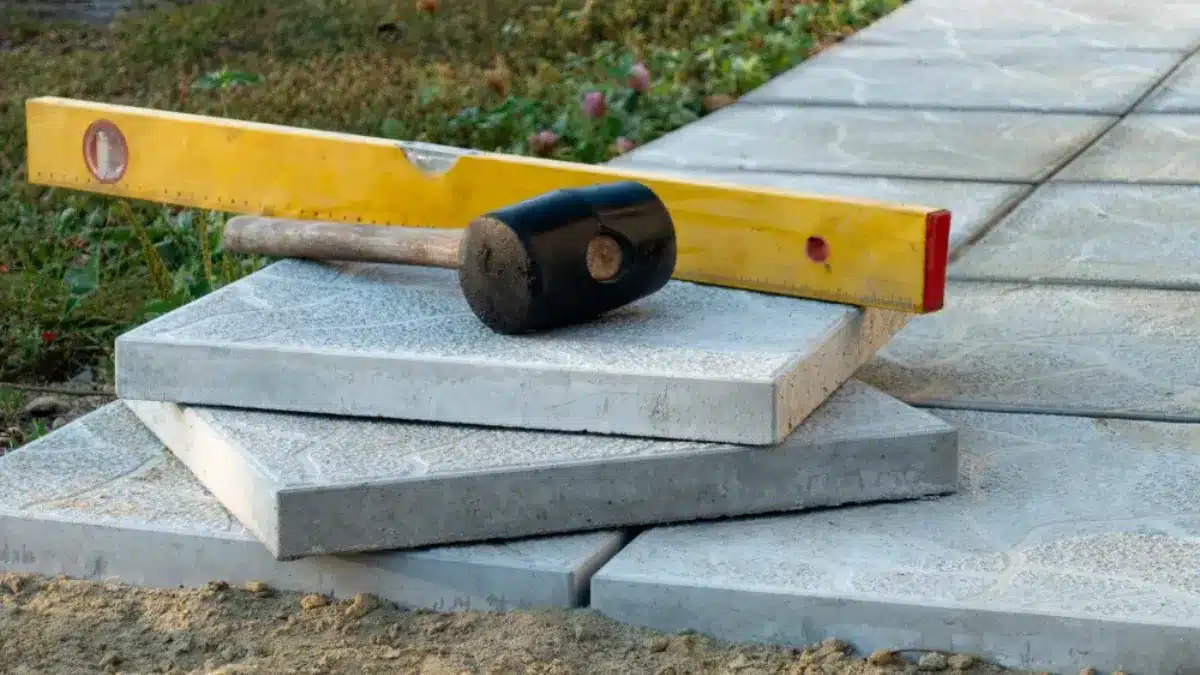
Materials and Tools You’ll Need
- Drill with masonry bits
- Hydraulic slurry pump (can be rented)
- Cement slurry mixture
- Level
- Concrete patching compound
- Protective gear (gloves, safety glasses)
1. Assess the Concrete Slab
Before beginning, evaluate the extent of settling and determine if DIY leveling is appropriate. Not all concrete issues are suitable for DIY repairs, particularly if there are structural concerns.
2. Prepare the Work Area
Clear the concrete surface of any debris, furniture, or obstacles. Mark the areas that need to be lifted.
3. Drill Strategic Holes
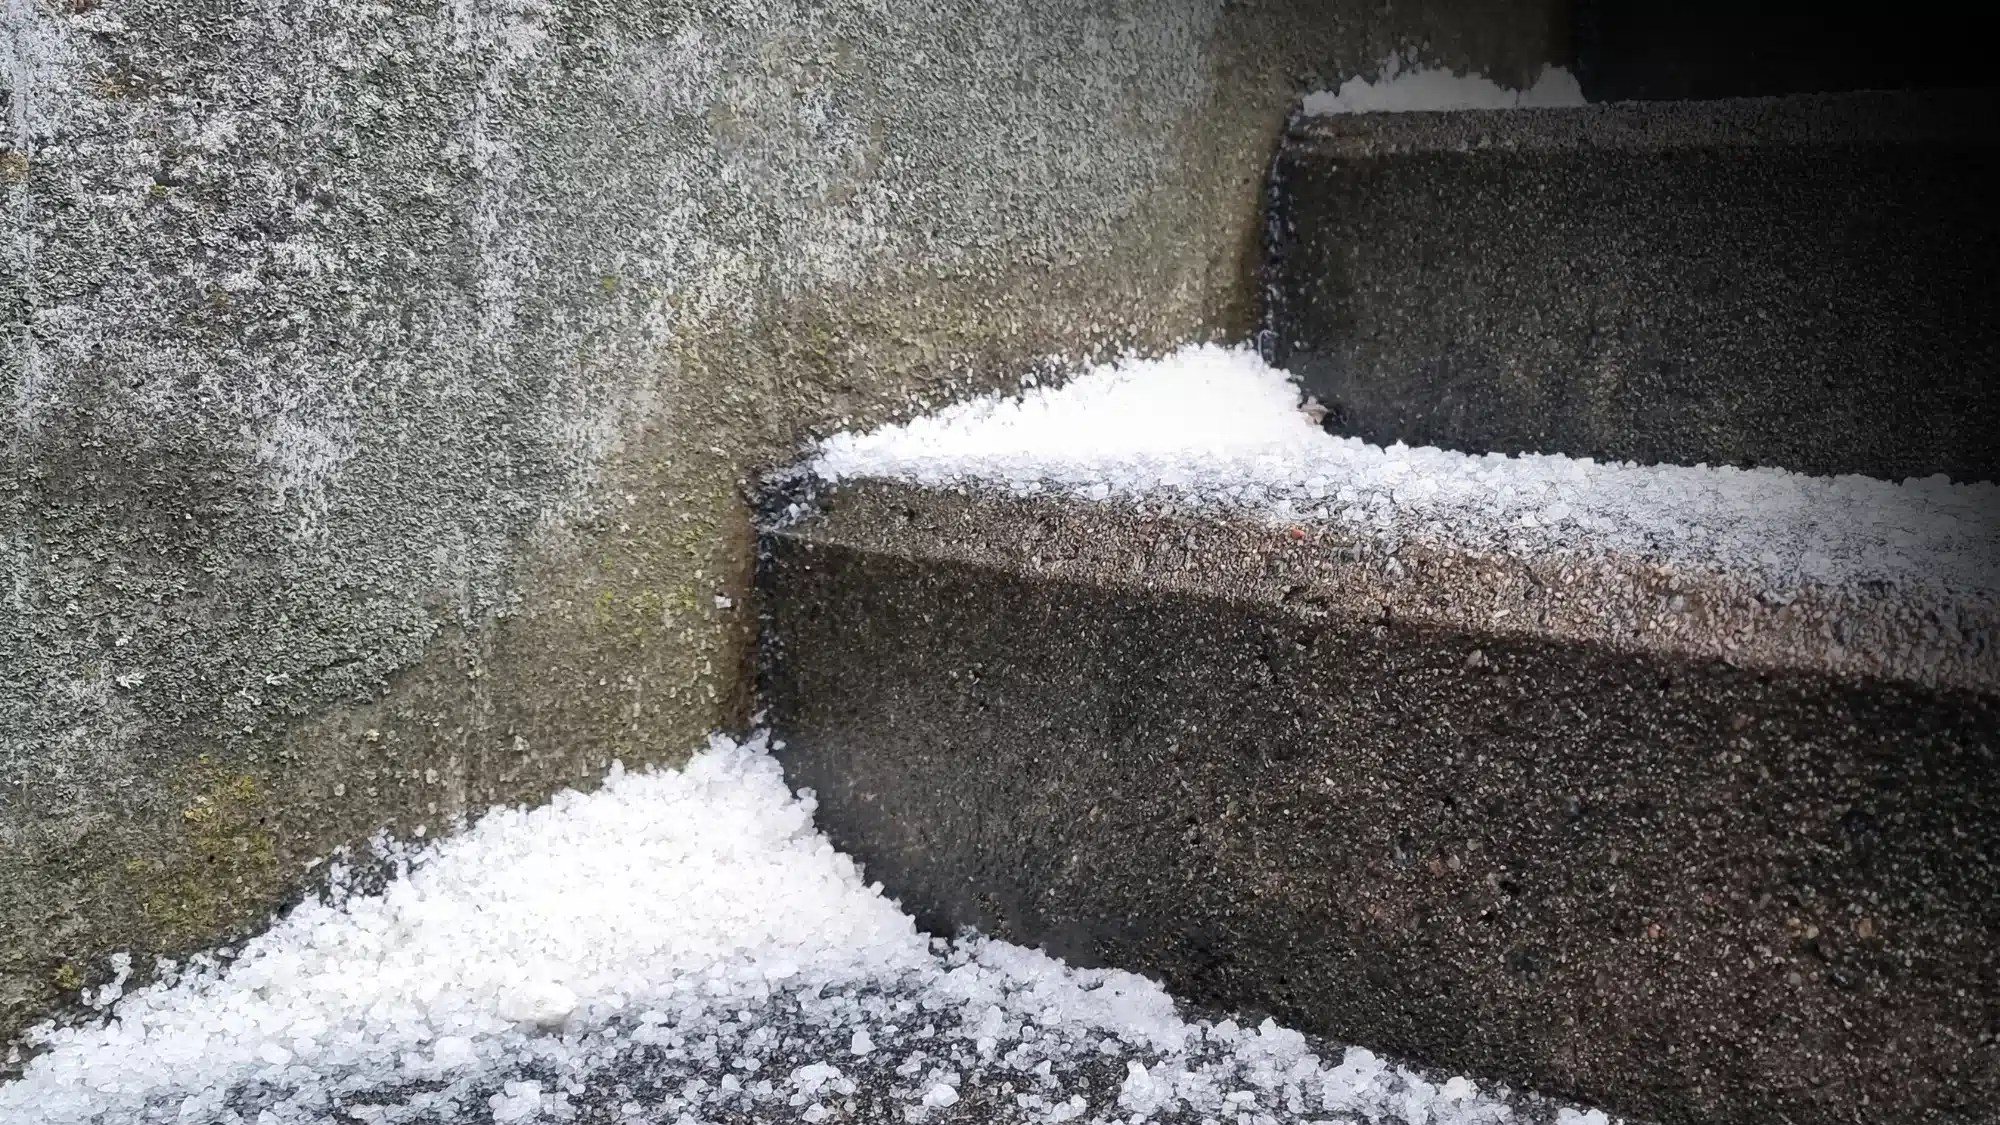
Drill holes through the concrete slab around the affected areas. These holes typically range from ⅝” to 2½” in diameter, depending on the leveling method you’re using.
4. Mix the Leveling Compound
If using a cement slurry, mix it to a consistency similar to pancake batter—thick enough to provide support but still pourable through the pump.
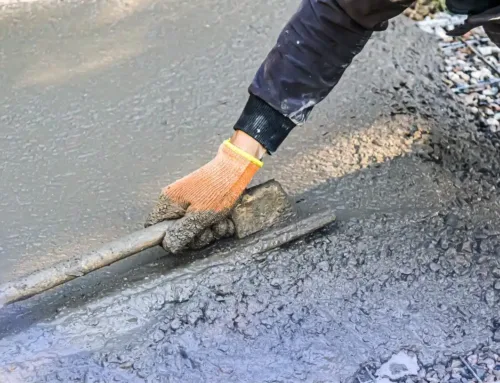
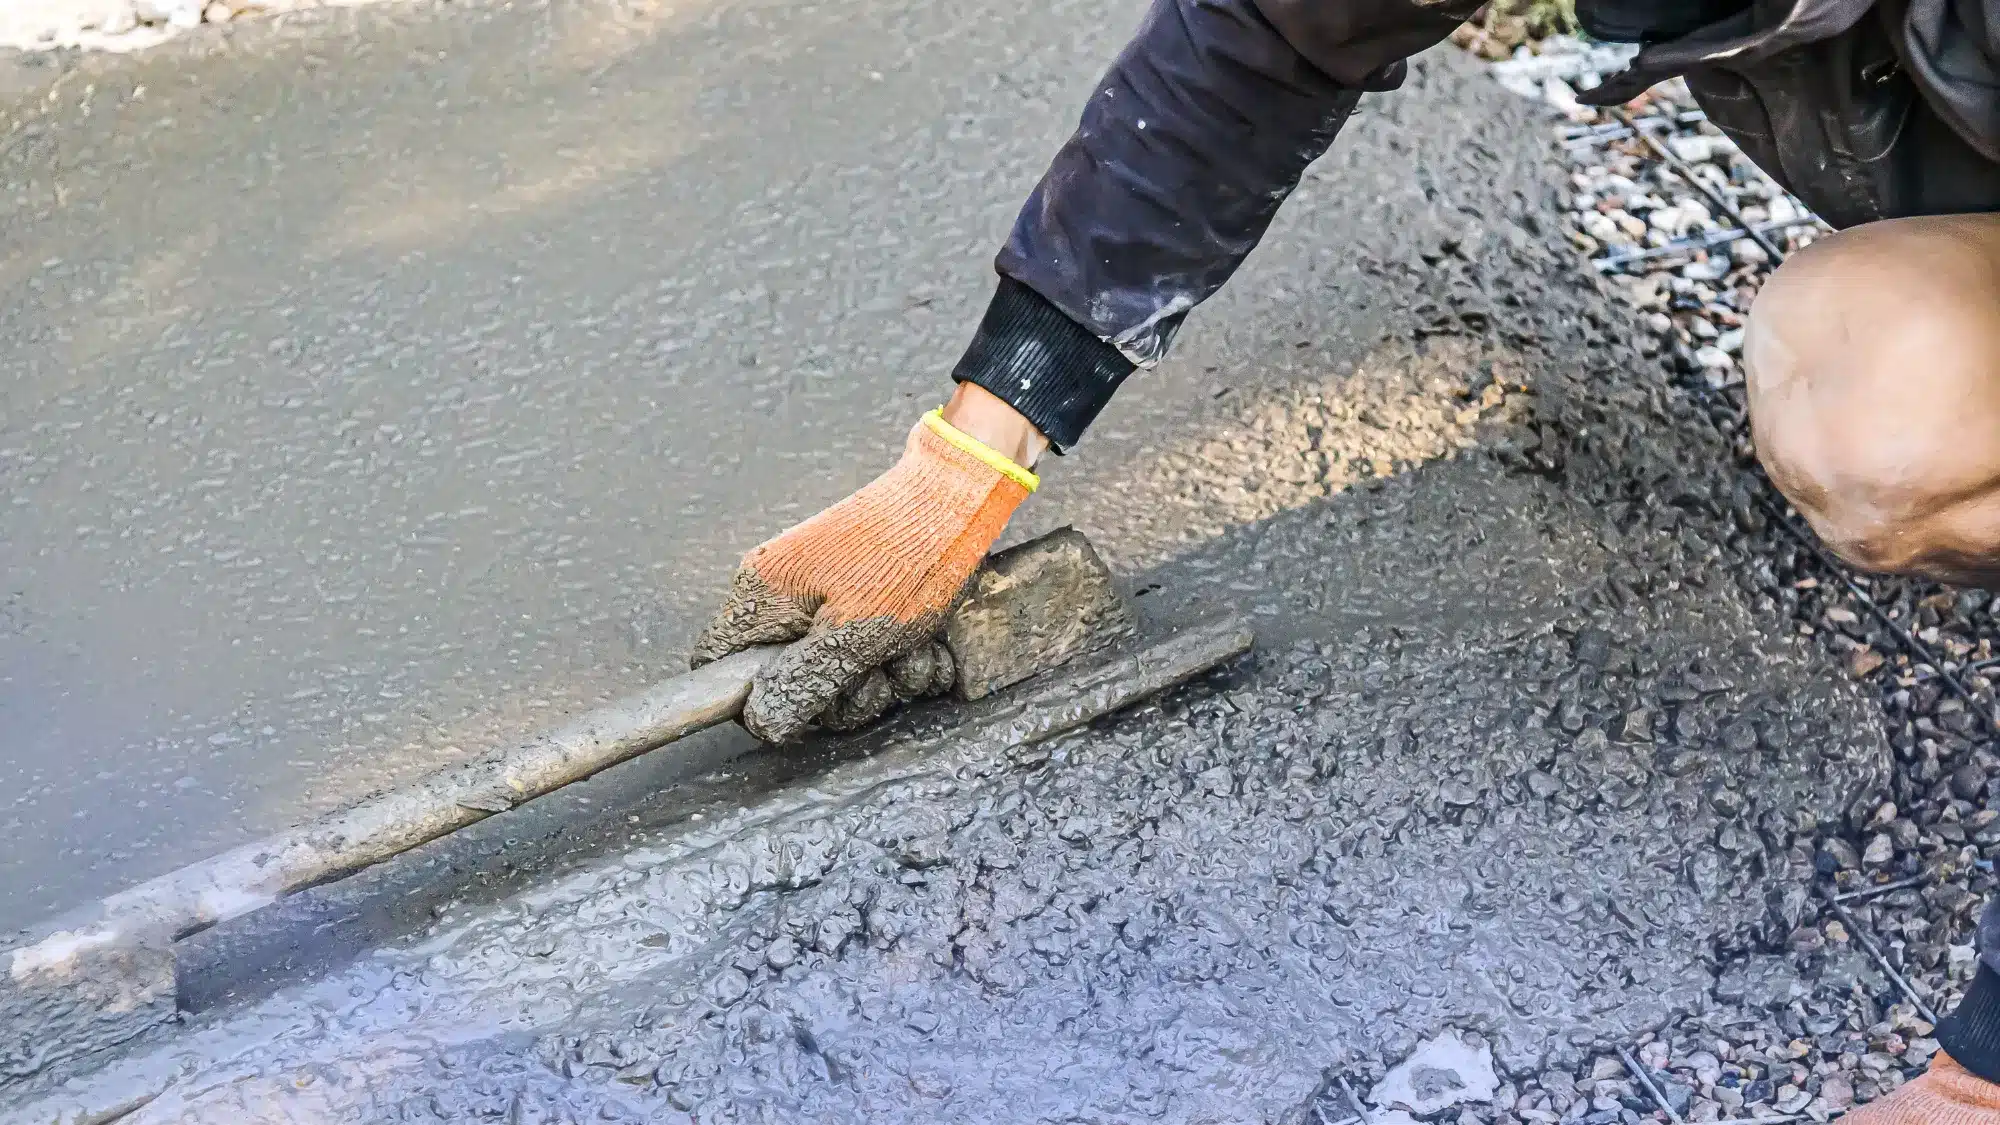
5. Pump the Leveling Material
Using a hydraulic slurry pump:
- Start injecting the mixture from one side of the concrete slab
- Work your way across systematically
- Fill each hole until the concrete begins to lift to the desired height
- Check the level frequently to ensure even rising
6. Monitor the Leveling Process
Be careful not to overfill any areas, which could cause the concrete to crack. It’s better to work slowly and add more material as needed than to rush and risk damaging the slab.
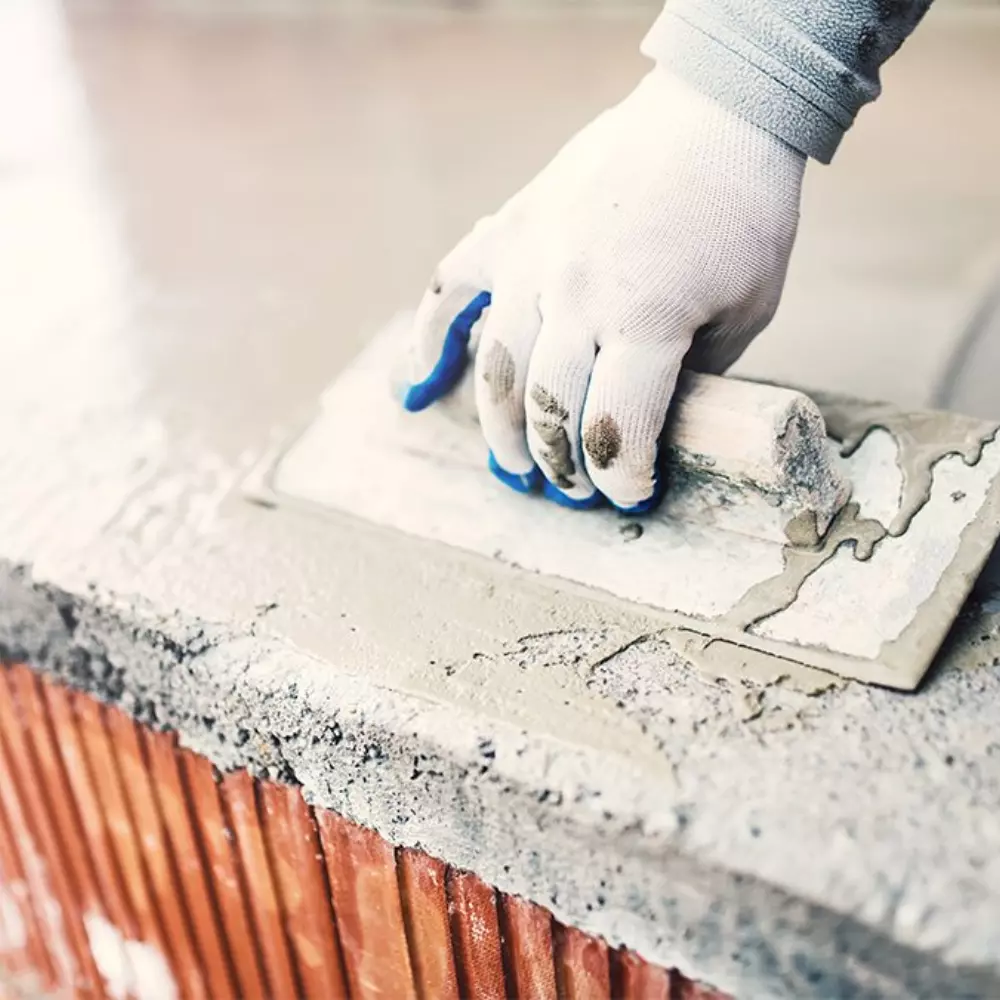
7. Seal the Injection Holes
Once the concrete is level, seal all the drill holes with concrete patching compound for a finished appearance.
When to Call Professional Concrete Leveling Near Me
While DIY concrete leveling is possible for some homeowners, professional services are recommended for:
- Large slabs or extensive settling
- Concrete that has cracked significantly
- Areas with potential underlying soil issues
- When specialized equipment is needed
- If you want a warranty-backed solution
Professional concrete leveling addresses the underlying causes of uneven concrete floors, offering a reliable, long-term solution for achieving a level and stable concrete surface.
Benefits of Professional Concrete Leveling
- Expertise in identifying root causes: Professionals can determine why your concrete settled in the first place
- Specialized equipment: Access to commercial-grade materials and tools
- Efficiency: What might take a DIY homeowner days can often be completed by professionals in hours
- Warranty protection: Most reputable concrete leveling companies offer warranties on their work
- Cost-effective: Often less expensive than concrete replacement
Choosing the Right Concrete Leveling Method
The best leveling method depends on several factors:
- The extent of settlement
- The type and use of the concrete slab
- Your budget
- Long-term durability requirements
- Local soil conditions
At Pinnacle Concrete Solutions, we evaluate each project individually to recommend the most appropriate concrete leveling solution for your specific needs.
Maintenance After Concrete Leveling
To maximize the lifespan of your newly leveled concrete:
- Ensure proper drainage away from the slab
- Seal any cracks or joints to prevent water infiltration
- Address any gutter or downspout issues that could direct water beneath the slab
- Consider applying a concrete sealer for additional protection
Conclusion
Concrete leveling is an effective, economical solution for restoring sunken or uneven concrete slabs around your home. While DIY methods are available for minor repairs, professional concrete leveling services provide the expertise, equipment, and assurance needed for lasting results.
At Pinnacle Concrete Solutions, we’re committed to helping homeowners understand their options and providing top-quality concrete leveling services. Whether you’re ready to tackle a DIY project or prefer to leave it to the experts, this guide provides the foundation for making informed decisions about your concrete repair needs.

